






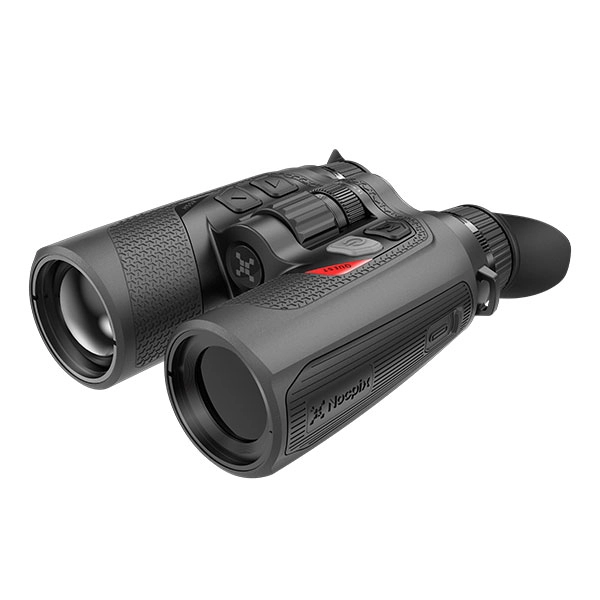
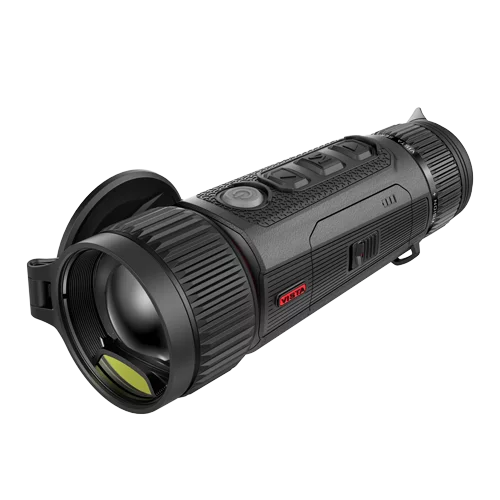
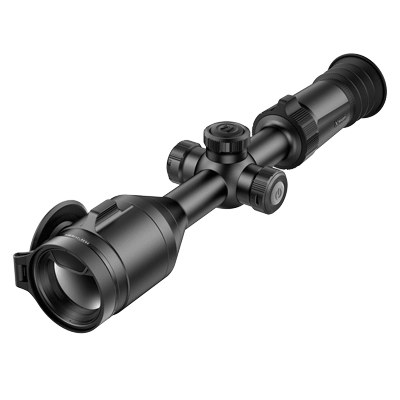
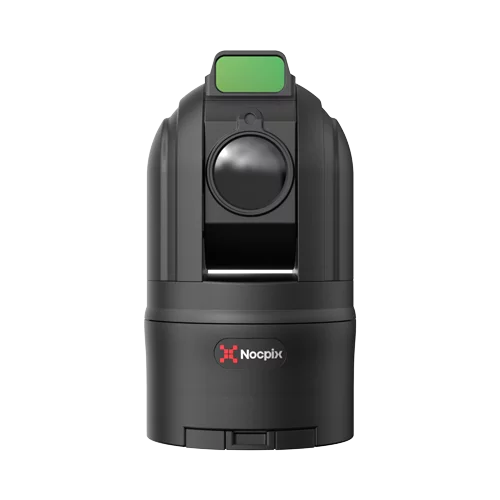


A first-time LUMI setup should do one thing: give you a clear, stable image without making you learn every menu in the device. This guide covers the LUMI H35, L35, L19, and P13, plus the H35R and L35R rangefinding models. It focuses on the controls you need immediately; the full manual remains the better reference for factory resets, complete menu descriptions, and long-term maintenance.
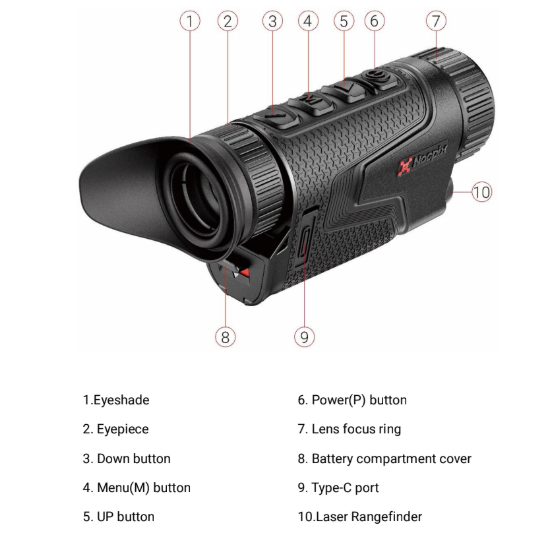
If you are still deciding which type of handheld thermal fits your needs, start with the broader thermal imaging monoculars category before following model-specific setup instructions.
Table of Contents
Nocpix Lumi Quick Setup
For the fastest route to a usable image, install a charged battery, remove the objective cap, and hold the Power button. Make the status icons sharp with the eyepiece diopter, then make the target sharp with the objective focus ring. Stay at the model’s base magnification, select White Hot, begin with brightness, sharpness, and contrast at level 5, and leave calibration on Automatic.
Do not start by changing every available feature. Once the basic image looks right at two different target distances, the LUMI is ready for normal scanning. PIP, the laser rangefinder, Wi-Fi, and custom controls can wait until later.
Which Nocpix LUMI Model Do You Have?
All LUMI models follow a similar setup process. The main differences are viewing distance, image detail, and whether the device includes a laser rangefinder.
| Model | Main Difference | Best For |
|---|---|---|
| LUMI P13 | Basic entry model | First-time users and shorter-distance observation |
| LUMI L19 | Wider view than the 35 mm models | Scanning woodland and closer areas |
| LUMI L35 / L35R | Higher starting magnification | Observing smaller or more distant subjects |
| LUMI H35 / H35R | Higher image detail with a wider view than the L35 | Users who want clearer identification |
| Models ending in “R” | Include a laser rangefinder | Users who need distance measurements |
The setup steps below apply to every model. If your model name ends in “R,” pay attention to the separate rangefinder and PIP button commands.
Before You Turn On the Lumi
Charge and Install the 18650 Battery
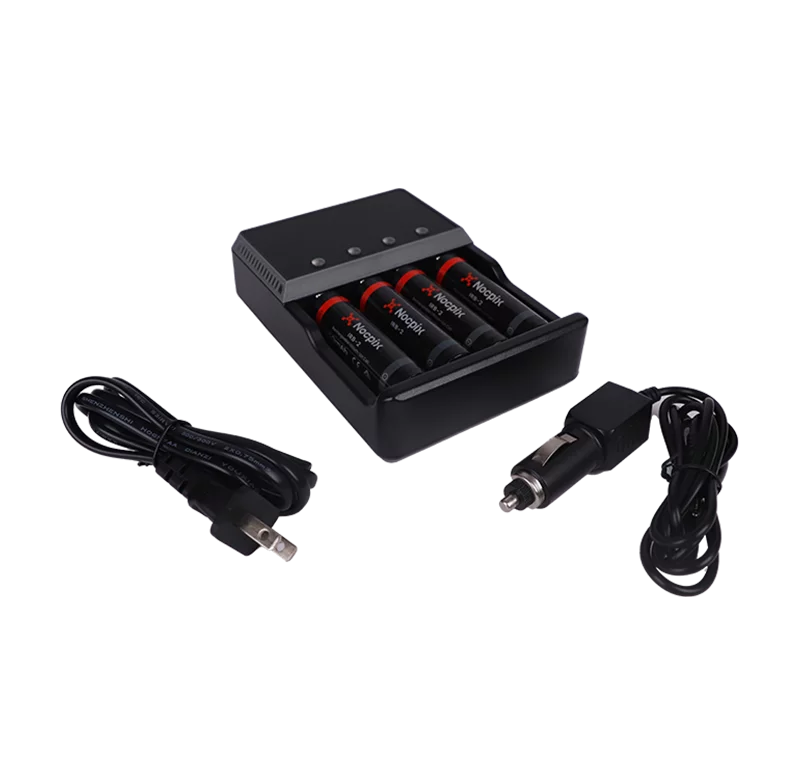
The Nocpix LUMI series uses a replaceable rechargeable 18650 lithium-ion battery. The supplied charger shows red while charging and green when the battery is full. Before installation, check that the cell is not dented, leaking, corroded, or wrapped in damaged insulation.
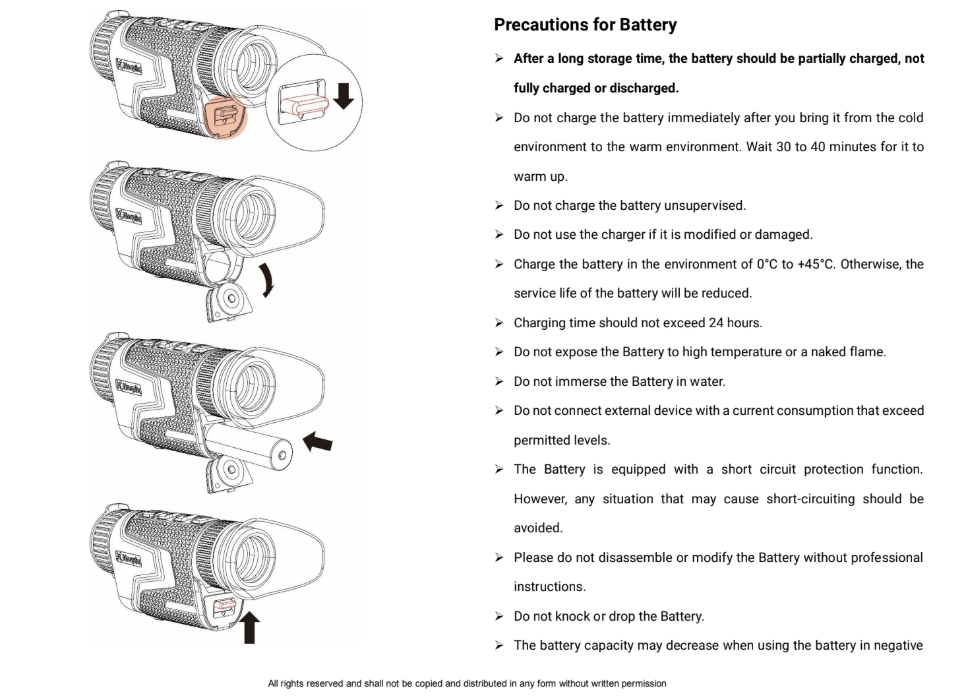
Pull down the latch below the eyepiece, open the battery cover, and insert the charged cell. The compartment supports either polarity, so the battery can face either direction. Close the cover and return the latch to its locked position, especially before using the monocular in wet conditions.
If a battery has just been brought in from the cold, let it warm for 30 to 40 minutes before charging it. Nocpix specifies a charging temperature of 0°C to 45°C. Carry spare cells in a protective case so their terminals cannot touch metal objects.
Get a Clear Image First
Adjust the Eyepiece Diopter
Hold the Power button until the home screen appears. Look at a status icon or menu text and rotate the eyepiece diopter ring until the graphics are crisp. Ignore the landscape or animal while making this adjustment.
The diopter matches the display to your eyesight; it does not focus the target. Once set, it normally stays in the same position for the same user. Another person may need to readjust it.
Focus the Objective on the Target
After the icons are sharp, aim at a tree trunk, fence post, or another object near your expected viewing distance. Rotate the objective focus ring until its edges and surface detail look as clear as conditions allow.
Refocus when observation distance changes. If the icons remain sharp but the animal or background looks soft, adjust the objective rather than the diopter. This distinction solves one of the most common first-use problems.
Start at Base Magnification
Use the model’s base view while focusing and searching a wide area. With no digital zoom applied, the displayed magnification is:
- 2× on the P13 and L19
- 2.5× on the H35 and H35R
- 4× on the L35 and L35R
Short-press Up to move through the available digital zoom steps. Digital zoom enlarges the existing image rather than adding detector detail, so high settings make focus harder to judge and reduce the visible area. The Nocpix explanation of optical zoom and digital zoom provides more background if you want to understand that trade-off.
Recommended Starter Settings
Use White Hot and Moderate Image Settings
Short-press M from the home screen to open the shortcut menu. Up and Down move between image mode, display brightness, sharpness, and contrast. Press M to select a setting, change it with Up or Down, and hold M to save and return home.
For a first session, use:
- Image mode: White Hot
- Display brightness: 5, then lower it if the screen strains your eye at night
- Sharpness: 5
- Contrast: 5
These are starting points, not settings that must remain fixed in every scene. Change one value at a time. If the image is uncomfortable to view, adjust display brightness first. If a correctly focused target blends into the background, make a small contrast change. Increase sharpness cautiously because high settings can emphasize noise and processing halos.
White Hot is a practical first palette because hot objects are easy to interpret against cooler backgrounds. Once focusing feels natural, try Black Hot or another palette and keep the one that separates the subject most clearly. The Nocpix guide to thermal color palettes explains how palettes suit different viewing situations.
Leave Calibration on Automatic
Calibration corrects fixed streaks, uneven shading, or a thermal image that has degraded as the sensor and surroundings change. Hold M to open the main menu, choose Calibration, and select Automatic. In this mode, the LUMI decides when correction is needed.
The image may briefly freeze and the unit may make a soft click during automatic calibration. That is normal shutter operation, not a fault. If the image looks uneven and you want an immediate correction, short-press Up and Down together for shutter calibration.
Background calibration is a separate user-initiated option. Cover the objective and hold Up and Down together until calibration finishes. Most new users will not need it during routine setup, but it can help when shutter calibration does not clear an uneven image.
Features to Set Up Later
Use PIP or LRF After Basic Setup
PIP adds a small window showing a 2× enlargement of the center of the main image. It can help inspect a subject without losing the surrounding view, but it also adds information to the display. Leave it off until you are comfortable focusing and scanning at base magnification.
With the default button assignments, press and hold Up to switch PIP on or off on the H35, L35, L19, and P13. On the H35R and L35R, press and hold Up + M.
The LUMI LRF H35R and L35R add an integrated laser rangefinder. Hold Up to switch the LRF on or off. In single-ranging mode, press Up to take a measurement; the result remains on screen for 30 seconds. Press and hold M + Down to switch between single and continuous ranging. Electronic image stabilization turns off when the LRF is enabled, so a small change in image framing is expected.
Connect the Nocpix App When You Need It
Wi-Fi is not required for ordinary viewing. Connect the Nocpix app when you want live transmission, device control, file access, firmware updates, or custom button assignments.
Hold M to open the main menu and turn Wi-Fi on. On the phone, select the network named Model_XXXXXXX; the final characters correspond to the device serial number. The initial password is 12345678 unless it has already been changed.
The app’s Custom Button screen lets you reassign the default short-press and long-press controls. That means an individual device may no longer follow every default command in this guide. The device also has a Custom Palettes setting, where palettes can be hidden from the shortcut menu.
For a firmware update, download the update while the phone has internet access, fully charge the LUMI, keep the phone and monocular close, and do not power the device off during installation. The LUMI restarts after a completed update.
Common First-Use Problems
The Image Freezes, Clicks, or Looks Uneven
A brief freeze and click usually mean automatic calibration is running. Continue observing after the image returns. If fixed streaks or uneven shading remain, run shutter calibration with a short Up + Down press.
If the icons are sharp but the scene is blurry, calibration is probably not the first fix. Return to base magnification and adjust the objective focus ring for the target distance. Also confirm that the objective cap is fully removed and the lens is clean.
Poor detail in rain, fog, or a scene where targets and backgrounds have similar temperatures may reflect weak thermal contrast rather than a device defect. Try White Hot, make a small contrast adjustment, and evaluate the image again before changing several controls.
The Buttons, Palettes, or Phone Connection Do Not Match
If a button performs a different action from the default described here, open the app and check Custom Button. You can restore or resave the preferred assignments to the device. If a palette is missing, open Settings > Custom Palettes and confirm that it has not been disabled.
If the phone cannot connect, confirm that LUMI Wi-Fi is on, select the correct Model_XXXXXXX network, and enter the current password. Move the phone and monocular closer together and away from crowded Wi-Fi networks or solid obstructions. Some phones warn that the LUMI network has no internet connection; remain connected because the network is being used to communicate directly with the monocular.
Why Choose Nocpix LUMI Thermal Monoculars?

The Nocpix LUMI series is designed for users who want a compact thermal monocular without giving up practical field features. Its replaceable battery, silent controls, multiple image modes, photo and video recording, and compact body make it approachable for first-time owners.
Different models cover different observation needs. The P13 and L19 favor wider scanning, the L35 favors longer-distance viewing, and the H35 provides more image detail. The H35R and L35R add a built-in laser rangefinder for users who also need distance measurements.
Frequently Asked Questions
Can a Nocpix Lumi Run From a Power Bank?
Yes. The LUMI can use a 5V external power supply through its USB-C port. When external power is connected, the battery icon changes to a USB icon. If external power is removed while a battery is installed, the device switches back to the battery without shutting down.
Can Two Phones Connect to a Nocpix Lumi at the Same Time?
No. Nocpix support guidance states that only one mobile device can connect at a time. Disconnect the current phone before connecting another one. The app can retain information for devices that were connected previously, but that does not allow two simultaneous live connections.
How Do You Reset the Lumi Wi-Fi Password?
After connecting the monocular to the app, open View Finder and use the settings control in the upper-right corner to change the device Wi-Fi name or password. If the current password is unknown and the app cannot connect, consult the official LUMI quick-start and user manual resources or Nocpix support before using Factory Reset, because a reset also restores other device settings.
For a first session, a charged battery, correct diopter, accurate objective focus, base magnification, White Hot, moderate image settings, and automatic calibration are enough. Once those basics produce a clear image consistently, add the optional features that support the way you actually use the LUMI.