Night hunting for beginners can feel overwhelming. The darkness changes everything: how you see, how you move, and how you make decisions. But thousands of hunters step into this world each year, and most of them wish they had started sooner.
Thermal optics are the main reason night hunting has become more accessible. Thermal imaging detects heat rather than visible light, which means you can find animals in complete darkness, light fog, or heavy cover, no moonlight needed.
This guide walks you through everything you need to start, from understanding how thermal compares to night vision to choosing gear, staying legal, hunting safely, and planning your first outing.
Table of Contents
How Is Night Hunting Different from Hunting During the Day?

Almost everything changes once the sun goes down. Your eyes lose most of their usefulness, landmarks blur together, and depth perception drops. Animals you rarely see during daylight, hogs, coyotes, and raccoons, become active and move freely across fields, creek bottoms, and feeder areas.
The biggest shift is in how you detect and identify animals. During the day, you rely on color, shape, and movement against a visible background. At night, you depend on technology to reveal what your eyes cannot.
There are practical changes too:
- Slower Movement: Walking through brush or uneven ground takes longer and demands more caution.
- Sound Sensitivity: Animals hear better in the dark relative to their reduced visual alertness, so noise discipline matters more.
- Target Confirmation: Positive identification is harder. You need to confirm species, size, and what lies beyond your target before you shoot.
- Navigation: Getting to and from your spot safely requires a headlamp, GPS waypoints, or a memorized route.
Night hunting is not harder than day hunting. It’s different. And the hunters who prepare for those differences have the best results.
How Thermal Optics Help Beginners Hunt After Dark
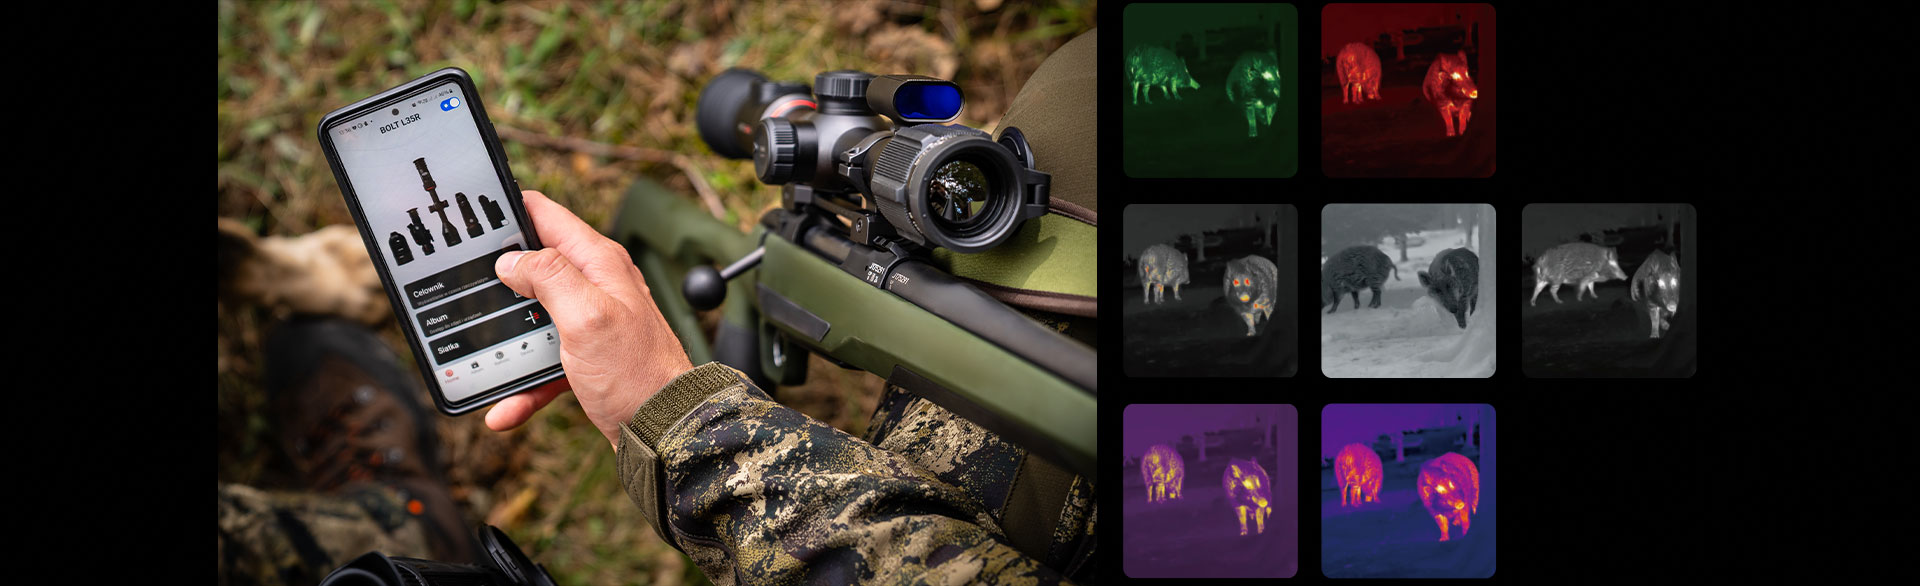
Thermal imaging is the most effective tool for finding animals in total darkness. Instead of amplifying light, thermal devices detect heat signatures emitted by warm-bodied animals. Because every living creature emits infrared energy, thermal optics can locate targets even when there is zero visible light.
For a beginner, this means you don’t need to learn complicated IR illuminator setups or depend on moon phases. You power on your device, and warm-blooded animals stand out against the cooler background.
Thermal Scope vs. Night Vision: Key Differences
Thermal finds targets in total darkness, while night vision supports identification and navigation. That is the simplest way to understand the split.
Traditional night vision scopes rely on amplifying ambient light. Digital night vision adds IR illumination. Both require at least some light source to produce a usable image. Thermal does not.
That said, thermal excels at locating targets, not guiding movement. Using it for navigation often feels unnatural and disorienting. Many experienced hunters use a thermal for detection and a separate night vision device for walking to and from their stand.
For a deeper comparison, Nocpix has a full breakdown of night vision vs. thermal vs. infrared that covers how each technology performs in real hunting conditions.
Monocular, Binocular, or Riflescope, Which Format to Start With
This depends on how you plan to hunt.
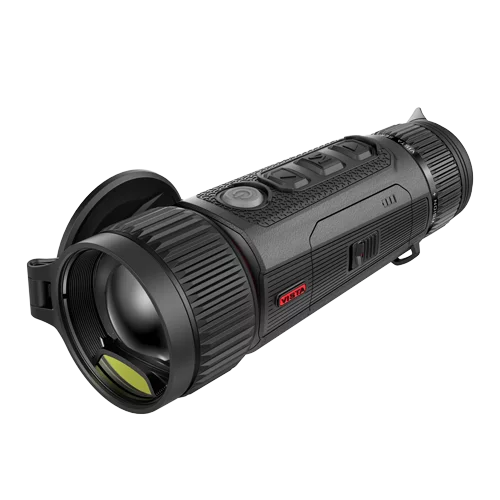
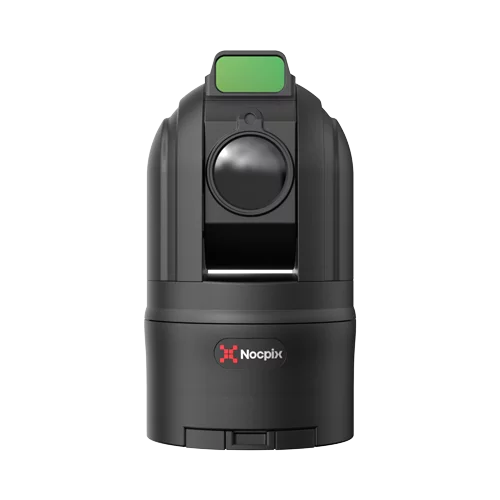
A thermal monocular is a handheld scanner. It’s lighter, easier to carry on long walks or active stalks, and lets you check fields, fence lines, and brush edges before you move or shoulder your rifle. A compact option like the Nocpix VISTA series gives you a scouting tool you can pocket or hang from your neck.
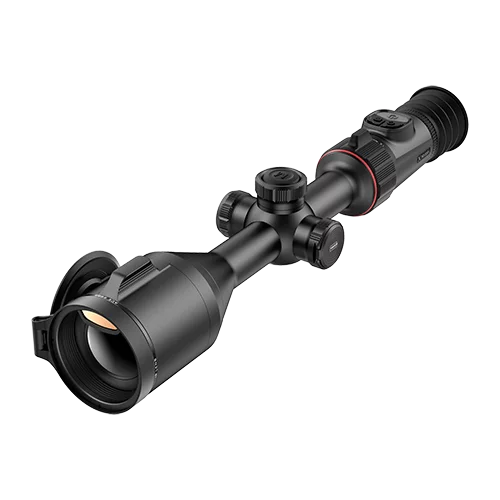
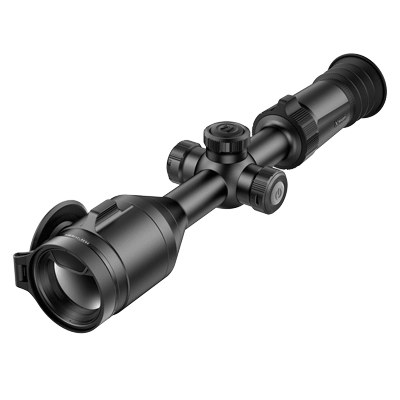
A thermal riflescope mounts directly on your rifle and handles detection, identification, and shooting in one device. For beginners who want simplicity, this all-in-one setup removes the need to switch between tools in the dark. The Nocpix BOLT L35R is a solid starting point; it mounts in standard rings like a day optic, which makes the transition easier.
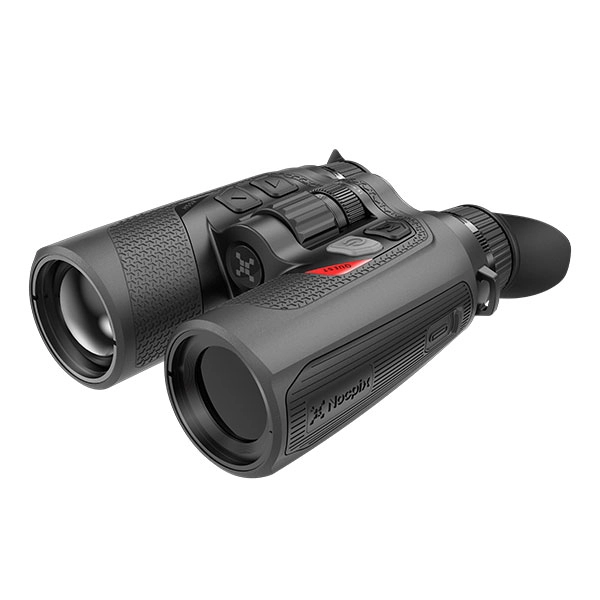
A thermal binocular like the Nocpix QUEST series offers two-eye viewing that reduces eye strain on long observation sits. It’s a better fit for hunters who spend extended time glassing wide-open terrain.
Most beginners start with either a thermal riflescope alone or a thermal monocular paired with a day scope. Budget, hunting style, and how long you spend in the field should guide your decision. Our guide on choosing your first thermal scope walks through those decisions in detail.
What Gear Do You Need to Start Night Hunting?
You don’t need a truckload of equipment, but you do need the right items.
Essential Gear (Must-Have)
Every night hunt requires these basics:
- Thermal Optic (Riflescope or Monocular): This is your primary detection tool. A rifle-mounted thermal scope handles both detection and shooting. A handheld thermal monocular adds scanning ability when paired with a day scope or a thermal imaging attachment.
- Weapon and Ammunition: Match your caliber to your target species. A .223 or .22-250 works well for coyotes. A .308 or 6.5 Creedmoor handles feral hogs.
- Headlamp with Red or Green Filter: Preserves your night-adapted vision and keeps you oriented on the move.
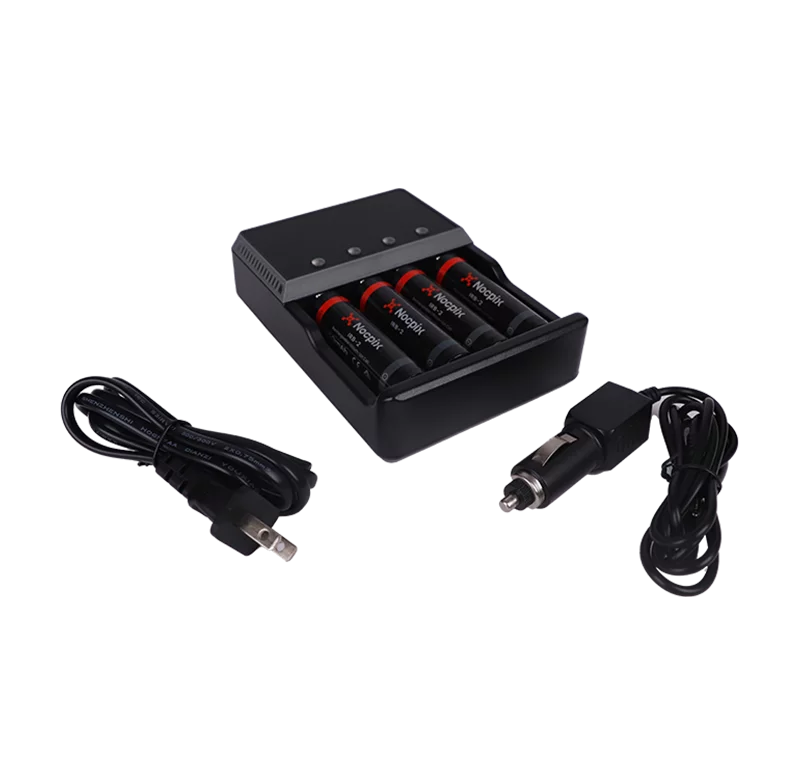
- Spare Batteries or Power Bank: Cold weather drains batteries faster than you expect. Carry spares for your thermal device and headlamp.
- Rangefinder or LRF-Equipped Optic: Judging distance at night is harder than during the day. A built-in laser rangefinder like the one in the Nocpix LUMI LRF series removes the guesswork.
Useful Additions (Nice-to-Have)
These items improve comfort and effectiveness:
- Shooting Sticks or Tripod: A stable rest matters more at night because you often have fewer natural bracing options.
- E-Caller or Manual Predator Call: A quality electronic caller with remote control lets you set up at a distance from the sound source.
- Seat or Cushion: Night sits can last 2–4 hours. A lightweight cushion helps you stay patient.
- GPS or Phone App with Waypoints: Mark your vehicle, entry point, and any known hazards before dark.
- Wind Checker: A small puff bottle or milkweed pod helps you read wind direction without using a light.
What Are the Legal Rules You Must Know Before Night Hunting?
Night hunting laws vary dramatically by state, species, and land type. Always check your current state wildlife regulations before you go.
Here are the general patterns in the U.S.:
Shooting deer, elk, and most large game after dark is prohibited in almost every state, with narrow exceptions for specific depredation permits. However, most states allow night hunting for predators and nuisance species, including coyotes, feral hogs, raccoons, and foxes.
Key legal factors to verify before every hunt:
- Species Allowed: Most states permit night hunting for non-game predators and feral hogs, but not deer or turkey.
- Land Type: Private land typically carries the broadest allowances. Public land rules are much tighter.
- Equipment Restrictions: Some states ban thermal or night vision devices for certain species. Others allow thermal but restrict mounted lights.
- Permit Requirements: Some jurisdictions require a specific predator permit or written landowner consent.
- Season Dates: Even predator hunting may have seasonal windows in certain states.
Rules change year to year. Never assume last season’s setup is still legal. Check your state wildlife agency’s website or call their office before each season.
How Do You Stay Safe When Hunting at Night?
Safety at night comes down to three things: confirmed targets, clear communication, and controlled movement.
- Positive Target Identification: A heat signature alone is not a confirmed target. If you cannot identify the species, orientation, and what lies beyond the animal, do not shoot. Thermal excels at detection, but confirmation sometimes requires closing distance or changing angle.
- Know What’s Beyond Your Target: Thermal imaging does not reveal fences, buildings, parked vehicles, or other non-thermal hazards. Every ethical shot requires a verified safe background.
- Tell Someone Your Plan: Share your location, expected return time, and a map of where you’ll be. Check in when you get back.
- Hunt with a Partner When You Can: Especially on your first few outings, a second person adds safety and helps with recovery.
- Wear a Small Reflective Marker: If others may be in the area, a reflective strip on your pack or hat helps prevent dangerous situations.
- Carry a First Aid Kit and a Charged Phone: Trips, falls, and cuts happen more often at night. Always have your GPS location accessible.
How Do You Plan and Execute Your First Night Hunt?
Your first night hunt should be simple. Pick a familiar property, target one species, and keep your setup minimal.
Location and Timing
Scout during the day. Look for fresh sign , tracks, rooting, scat, or worn trails , near food sources, water, or transition zones between heavy cover and open ground. Mark those spots and walk your approach route before dark.
The best windows for predator activity are usually the first 2–3 hours after sunset and the last 2 hours before dawn. A new moon or overcast sky reduces ambient light and puts more pressure on animals to rely on their nose and ears rather than sight , which is exactly when your thermal gives you the clearest advantage.
Approach and Setup
Walk in slowly and use your headlamp on low or red mode. Once you reach your spot, turn it off and let the area settle for 10–15 minutes before scanning or calling.
Set up with the wind in your face or crosswind. Coyotes and hogs typically approach from downwind, so position yourself where you can cover the most likely approach lanes , open field edges, fence lines, dry creek beds, or pasture corners.
Calling and Scanning
For coyotes, start with low-volume prey distress sounds. Wait 20–30 seconds between sequences and scan with your thermal optic in slow, deliberate sweeps.
Scanning means moving the optic slowly and consistently across the terrain in overlapping arcs , not quick, random panning. Done right, you cover every inch of the area without missing movement in the gaps.
Give each stand at least 15–20 minutes before moving. Impatience is the most common reason beginners miss animals that were already approaching.
What Mistakes Do Most Beginners Make on Their First Night Hunt?
Most first-time night hunters make the same predictable errors. Here are the ones worth avoiding:
- Moving Too Fast: Rushing between stands spooks animals and creates noise. Slow down on every step.
- Over-Relying on the Thermal Image: A heat blob is not a confirmed target. Always verify species, direction, and background before you shoot.
- Skipping the Scout: Showing up cold to a property you’ve never walked is a reliable way to have a frustrating night. Daylight scouting is not optional.
- Ignoring Wind Direction: Calling predators with the wind at your back sends your scent right to them. They will not come in.
- Forgetting Spare Power: A dead thermal scope at 1 a.m. ends your hunt. Pack extra batteries every time.
- Not Checking Local Laws: Getting cited for using prohibited equipment or hunting a restricted species causes far more damage than a missed shot.
Final Thought
Night hunting for beginners is less about buying the most expensive gear and more about preparing well , knowing the law, understanding your equipment, scouting your land, and making safe, confident decisions in the dark.
Thermal imaging gives you a real advantage by showing you what your eyes cannot. It helps you detect animals earlier, confirm targets more carefully, and react with better awareness. That kind of clarity is what makes a first night hunt a success instead of a frustrating experience in the dark.
Start simple. Pick one property, one species, and one setup. Practice with your thermal device before you head out. Check your state regulations. And when you’re ready to find the right optic for your first night hunt, explore the Nocpix thermal riflescope and monocular lineup to find the option that fits how you hunt.
Frequently Asked Questions About Night Hunting for Beginners
How long does it take to get comfortable using a thermal scope at night?
Most hunters feel confident after 3–5 outings. Spend time at home learning the menu, color palettes, and zeroing process before your first live hunt. Familiarity with your device in daylight makes nighttime use far easier.
What’s a realistic budget for a beginner night hunting setup?
Plan to spend the largest share on your thermal optic. Entry-level thermal riflescopes with useful features like integrated rangefinders and solid image quality start in the mid-range price bracket. Add a quality headlamp, spare batteries, and basic shooting support, and you can build a functional night hunting kit without overspending.
Is it safe to go night hunting alone as a beginner?
It’s safer to hunt with a partner for your first few outings. A second person helps with navigation, animal recovery, and emergencies. If you go alone, always share your location and a check-in time with someone who can follow up if you don’t respond.
What caliber or weapon is best for night hunting beginners?
For coyotes and similar predators, a .223 Remington or .22-250 is a proven choice, flat shooting, low recoil, and effective at 50–250 yards. For feral hogs, a .308 Winchester or 6.5 Creedmoor provides more energy for larger animals. Match your caliber to the species and confirm it’s legal in your area.
How do I track or recover an animal I shoot in the dark?
Use your thermal optic. A freshly harvested animal retains body heat and will show clearly against the cooler ground. A blood trail also creates a warm thermal contrast on cool surfaces. Mark your shot location with a GPS pin before you move, walk slowly, and confirm the animal is fully down before you approach.