








At night, a beaver may give you only a few seconds to make sense of the scene. You may see a head moving across dark water, a broad back leaving the bank, or a warm shape disappearing behind reeds. By the time you bring the image back, the animal may be gone.
Thermal imaging helps with that first part of the hunt: finding movement and keeping track of it in poor light. It does not identify every heat source for you. You still need to choose active water, read the bank, recognise the animal, and wait for a position you can control. Nocpix works with hunters to develop thermal-imaging equipment for real hunting conditions. Around beaver water, that means paying close attention to the shoreline, the background, and the way the animal moves between cover and open water.
Find the part of the shoreline worth hunting
Do the first piece of work in daylight. A beaver site usually reveals how the animal connects the water with nearby cover.
Fresh cuts on willow or other soft broadleaved trees show where feeding has taken place. A smooth track down the bank can show a regular entry point. A bank entrance, lodge, or small store of branches tells you where the animal may spend time, but none of these features guarantees that it will appear at the same place that night.
Follow the water between those signs. A narrow side channel, a quiet inlet, or a gap in reeds may offer a much better view than the largest part of the pond. On a straight canal, the useful position may be a bend where the bank opens for a few metres. On a wooded stream, it may be the one gap between trunks through which a swimming beaver has to pass.
Choose a position where you can see the likely route without standing on an unstable edge. Check the approach, the opposite bank, nearby paths and buildings, and the ground under your feet. Darkness changes the site; mud, ice, rising water, and low branches that seemed harmless in daylight can become part of the hunt.
Start the search with the water-to-bank routes
When darkness arrives, do not sweep every part of the water with equal attention. Begin with the places where a beaver is likely to move between cover and open water: the feeding edge, the end of a slide, a quiet margin, or a gap beside reeds.
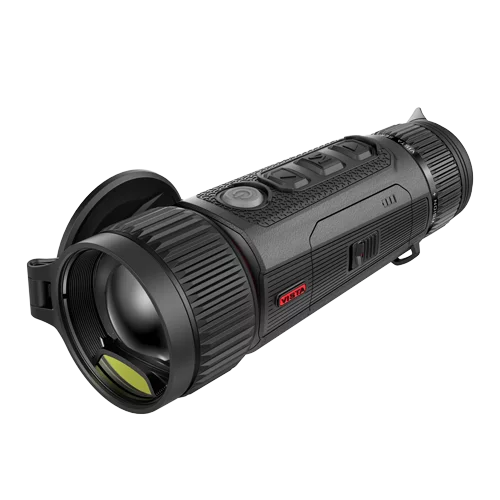
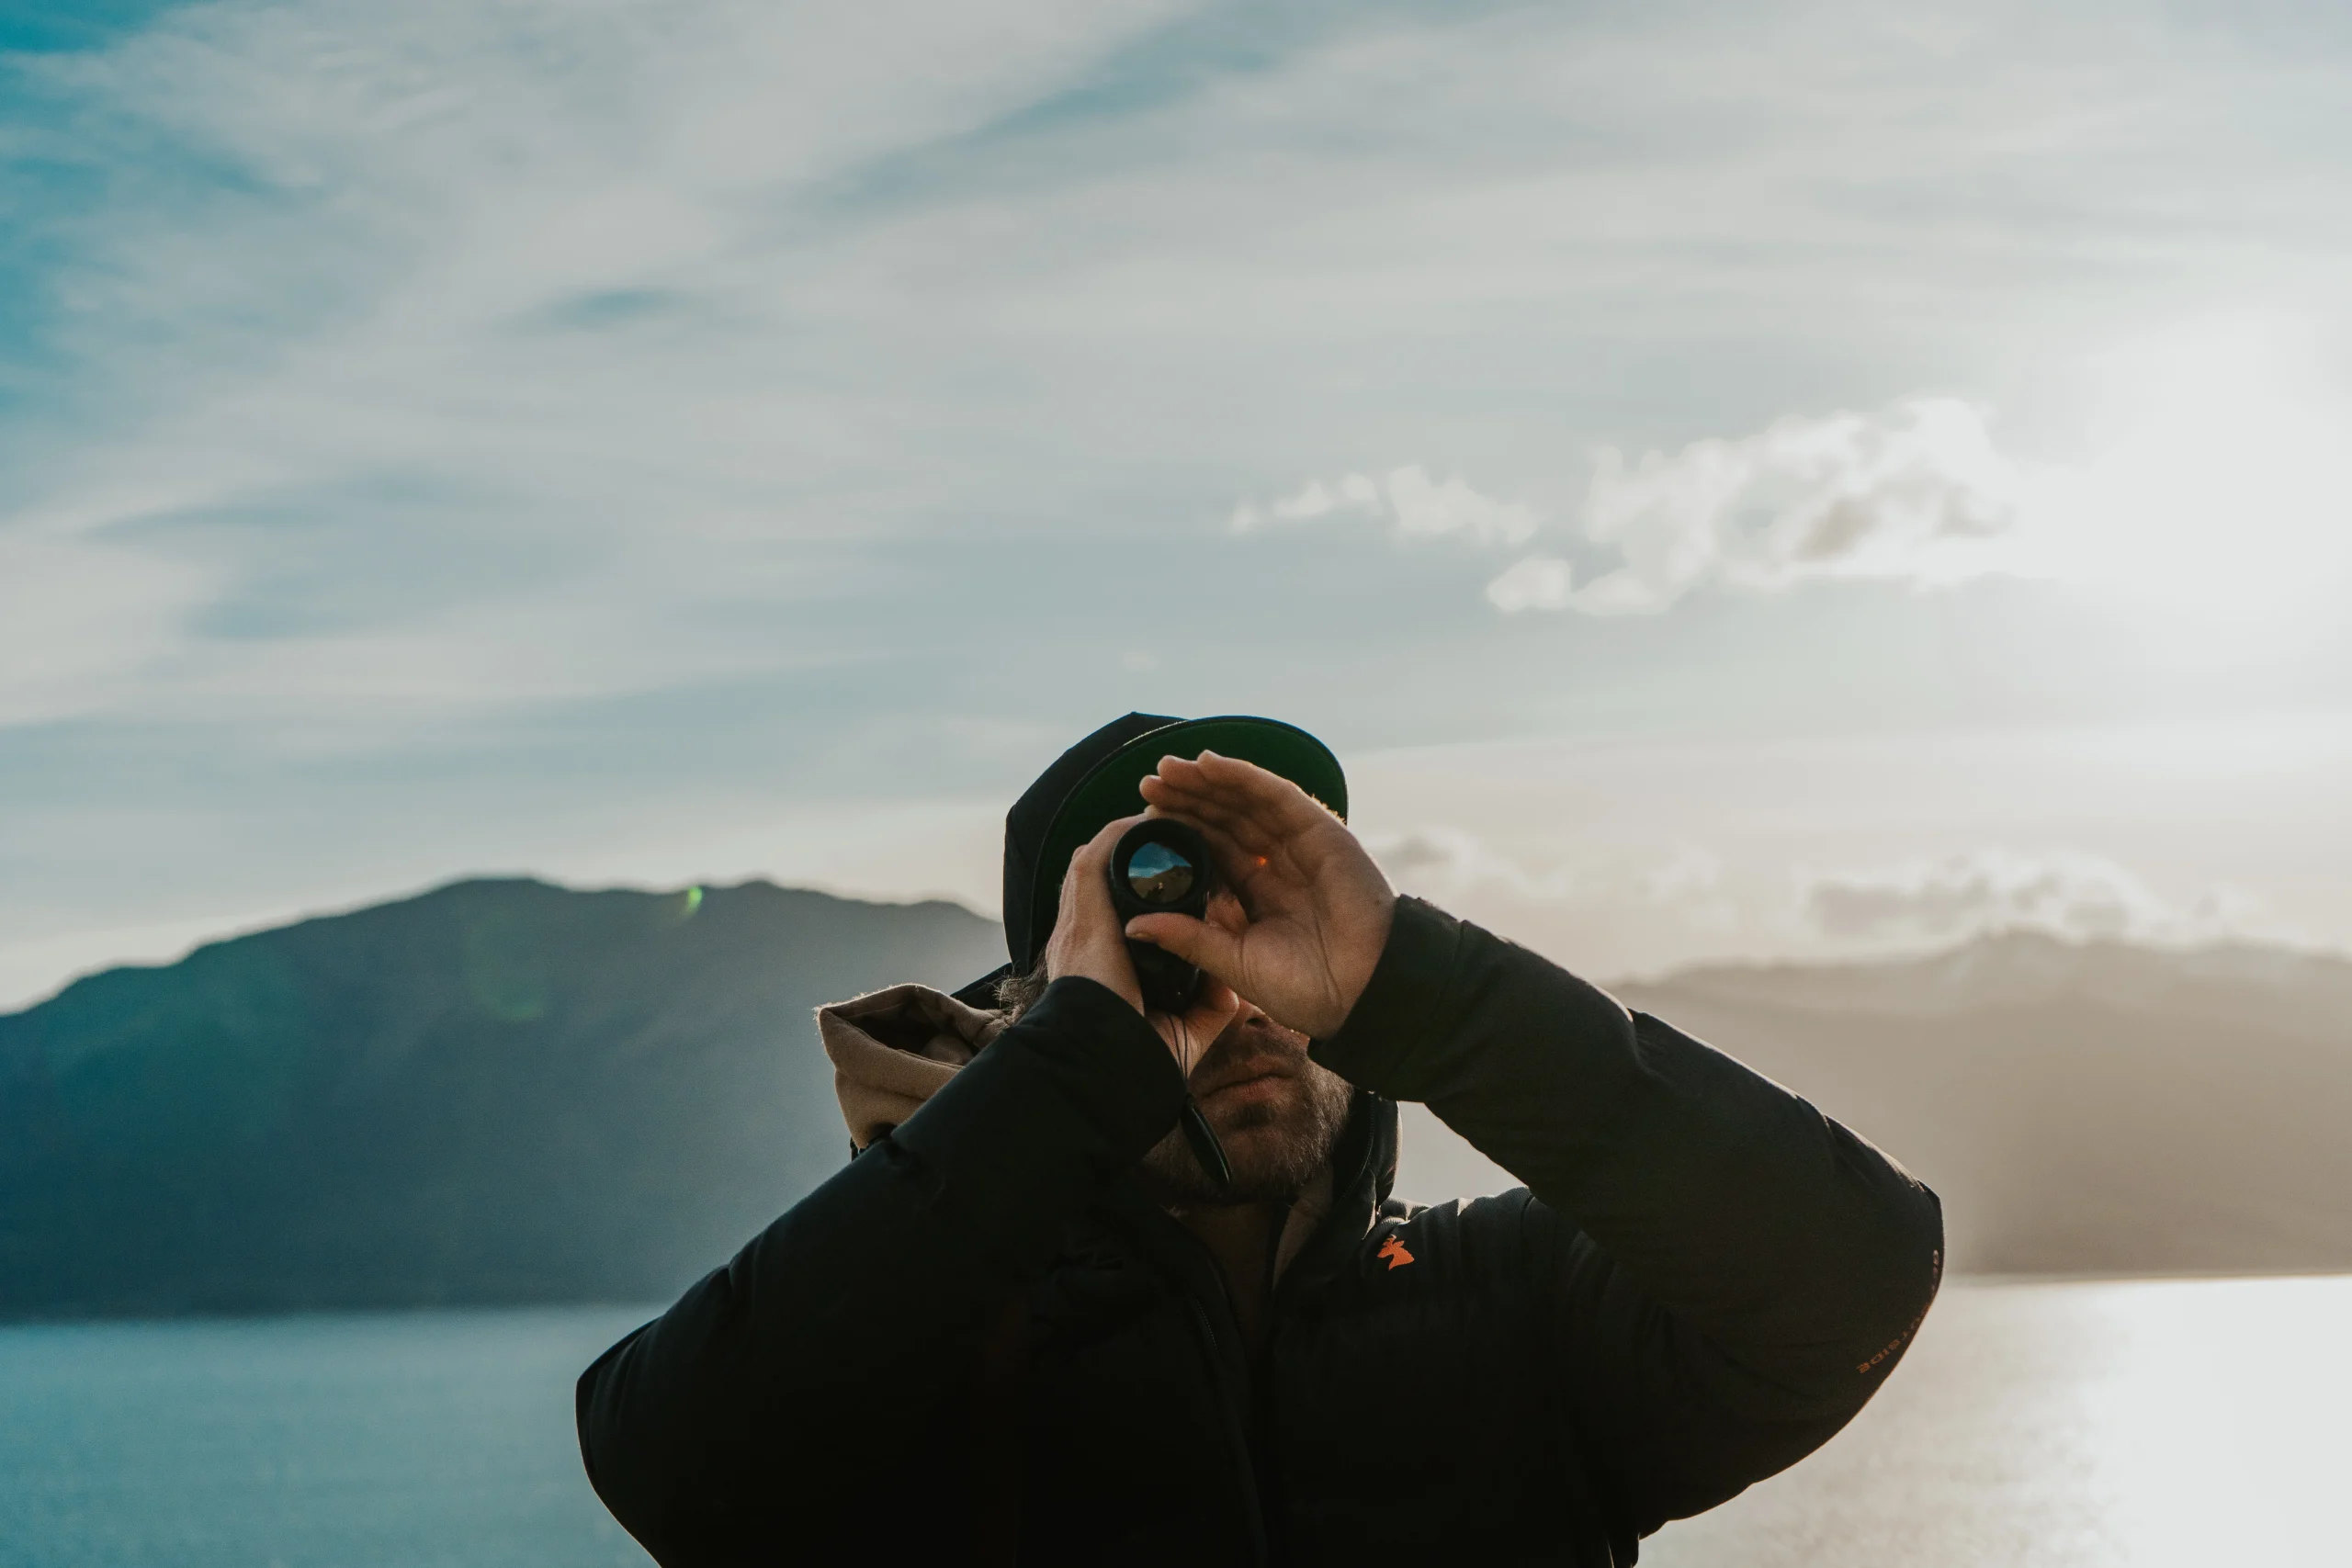
A handheld thermal monocular is useful during this stage. It lets you search while keeping the rifle out of the decision. A warm head or back may appear against cold water, then disappear as the animal turns or dives. Hold the view on the area long enough to see whether the movement continues along the bank. Compare Nocpix thermal imaging monoculars when mobile scanning is the main requirement.
Suppose a heat source appears beside a cut willow, moves ten metres, and vanishes at a low opening in the bank. That sequence is more useful than a single bright spot in the middle of the channel. It gives you a route to watch and a reason to adjust your position. If the shape appears once and never returns, leave it as an unconfirmed sighting.
The same approach helps with a moving animal. Keep the last visible point in the centre of your search rather than swinging immediately across the whole scene. When the beaver surfaces again, you can compare its direction and speed with the bank features you marked during daylight.
Let the terrain decide how you scan
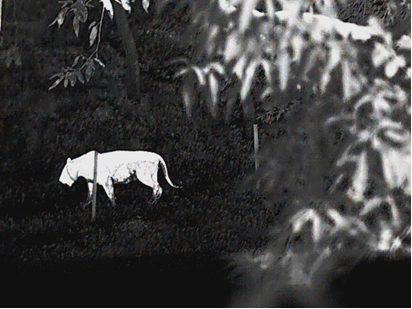
The best scan changes with the waterway.
On a wooded stream, the animal may be visible only through gaps between trunks. Use those openings first. A wide sweep across the whole stream can miss the short section where the beaver actually becomes visible.
On a canal or drainage ditch, follow the near and far margins. The straight water makes movement easy to follow, but the view may also include a road, footpath, garden, or building. Those features matter before you move or raise an aiming device.
On a floodplain or reservoir, open water may give you a clean heat outline without giving you enough detail to identify the animal. Check reed edges, side channels, and sheltered inlets as well. They often provide a shorter but more informative view.
Around farmland or the edge of a town, artificial lights and human activity can change the scene from one minute to the next. Bridges, fences, boats, livestock, and walkers may enter the background even when the beaver remains exactly where you first saw it.
Confirm the beaver before you change stages
Thermal shows a warm body moving through a scene. A bright mark only tells you that something warm is there. You need more shape and movement before treating it as a beaver; Nocpix explains this difference between detection and identification in more detail.
Wait for the animal to give you more than a head or a broken line of heat behind reeds. A beaver should look heavy and low in the water. When the angle allows, its broad tail and compact body help complete the picture. Its movement should also fit the water and the sign you found during daylight.
Other animals can use the same bank. An otter has a different body line and swimming style. Coypu or nutria may occur in some regions. Waterfowl, livestock, dogs, and reflections can also create brief shapes that look convincing when viewed too quickly. Size, movement, body outline, and location should agree before you treat the heat source as a beaver.
If reeds divide the image or the animal remains mostly underwater, keep watching rather than forcing an identification. A partial view may be enough to plan where to look next, but it is a poor basis for the next hunting decision.
Daylight familiarity helps here. Watch beavers in ordinary light when possible, and learn the local animals that share the same water. A night hunt should not be the first time you try to recognise the species.
Choose equipment for the way the hunt will move
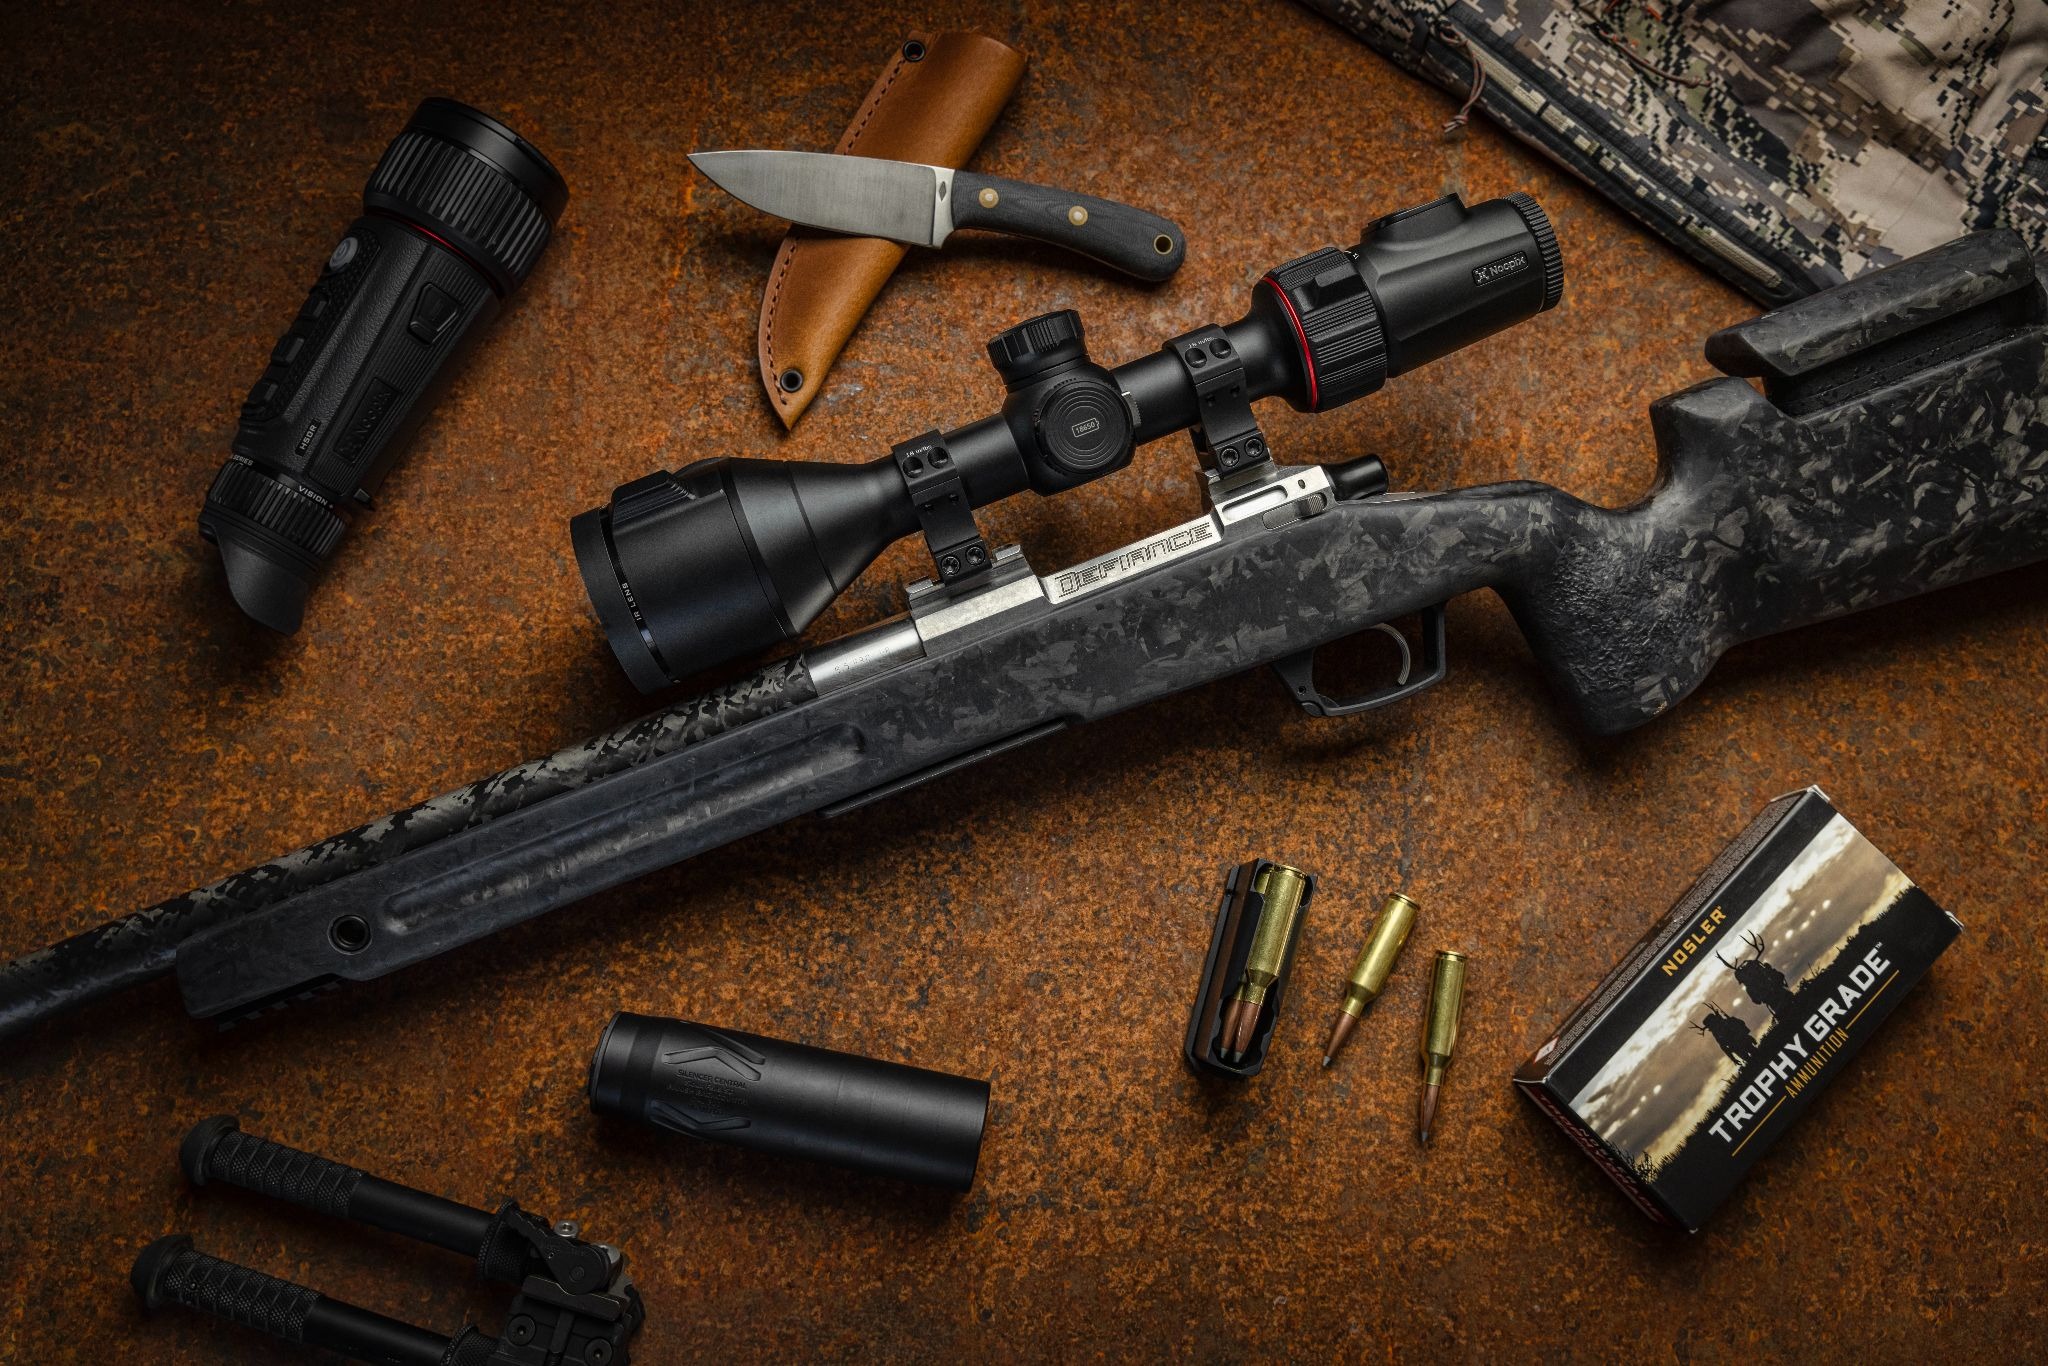
The device that helps you find a beaver on foot is not necessarily the device you want for the final aiming stage.
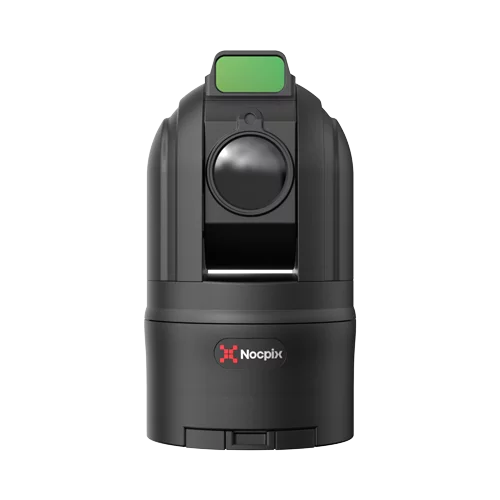
For a mobile hunt along several banks, a compact handheld monocular keeps the load manageable. Its job is to find movement, check likely routes, and help you decide where to stop. A broad view is useful when the animal may appear close to the bank or cross an opening quickly.
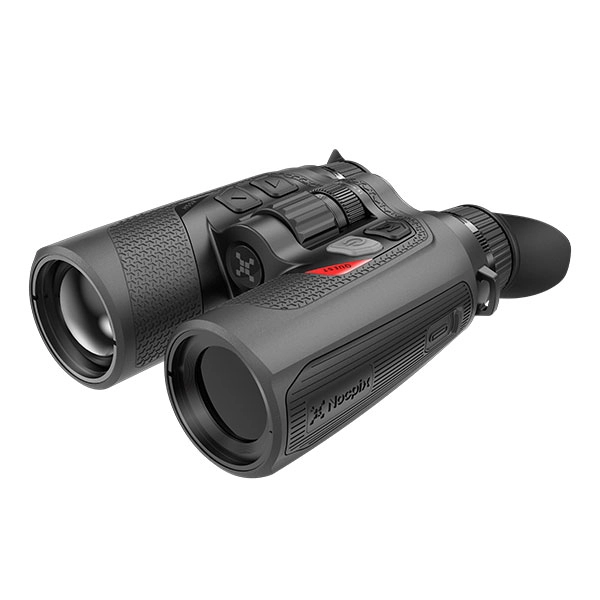
For a fixed position overlooking several channels or a broad wetland, a binocular thermal device can make long periods of watching easier. Comfort matters when the hunt depends on noticing a small change at the edge of the scene rather than reacting to one obvious target. Nocpix thermal imaging binoculars fit this extended-viewing role, while the QUEST thermal binoculars are worth comparing when a wide field of view and comfortable two-eye viewing matter at a fixed bank position.
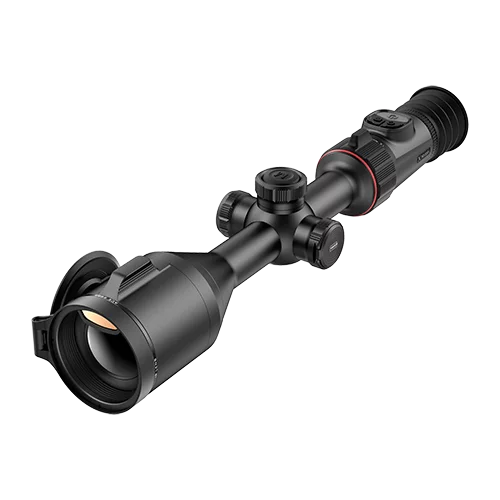
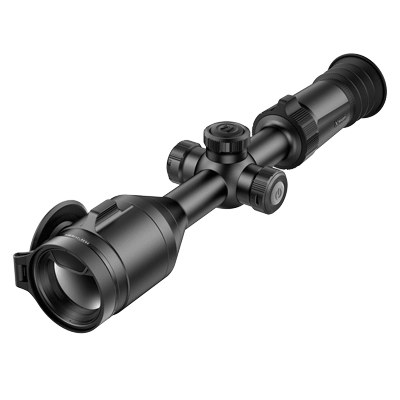
A thermal riflescope serves a later stage. Use it after the animal has been identified and the position, background, and direction of fire have been checked. The riflescope supports aiming; it should not be the first tool used to search an unfamiliar shoreline. Hunters comparing dedicated thermal aiming equipment can review Nocpix thermal imaging riflescopes. For a bank-side aiming position where image detail and range information matter, the ACE 2 thermal riflescope is one current model to compare against the requirements of the firearm and hunting position.
Maximum detection range alone is a poor way to choose equipment. A hunter walking a narrow ditch may need low weight and a forgiving field of view. A hunter holding a bank position may value image detail and comfortable viewing. Choose the category around the movement and distance the hunt actually involves.
Set up for water, cover, and changing contrast
Prepare the device before the animal appears. Focus on the bank or channel distance you expect to watch. Practise the controls with the gloves you will wear. If you need several menu changes before the image becomes readable, the setup is not ready for a cold, wet stand.
Water and cover can change the image quickly. A beaver swimming low may show only a small part of its body. Wet reeds can produce uneven background heat. Rain, condensation, and warm vegetation can reduce the separation between the animal and its surroundings. Dense cover may leave enough heat to show movement but too little outline for identification.
For a handheld device, quick focus changes, stable handling, practical battery management, and a lens that stays clear in damp weather matter more than a long specification list. For a riflescope, follow the current manual for mounting, zero confirmation, reticle use, and firearm-specific setup. Test the chosen controls before the hunt in conditions close to those you expect at the water.
Decide when the opportunity is usable
Seeing a confirmed beaver does not finish the decision. Before moving to the aiming stage, check what lies around it and what may enter the scene. The opposite bank, water surface, roads, paths, buildings, livestock, boats, and people all matter. So do your footing and the stability of the bank.
If the animal reaches open water, disappears into cover, or leaves only a partial view, wait or let it go. A clearer thermal image cannot fix an unstable position or an uncontrolled background. A handheld device allows the search to continue without forcing an uncertain aiming decision.
Check the rule for the exact hunting place
Before hunting, check the current official wildlife or hunting authority for the exact place. Confirm the species status, land permission, permitted hours, and whether thermal equipment is allowed for the planned hunt.
Use the image to make a better hunting decision
Thermal imaging can show that a bank is active, keep a moving beaver in view, reveal the route it uses between water and cover, and help you choose a better position. It still leaves species recognition and the final scene check to the hunter.
Start with the water and let the bank features guide the scan. Give the animal time to become identifiable, then choose the device and position for the next stage of the hunt.