Using a thermal scope becomes much easier once you understand four basics: proper setup, correct focusing, simple image settings, and how to interpret heat signatures.
Thermal optics detect temperature differences rather than visible light, which means they behave differently from traditional rifle scopes.
In this guide, you’ll learn how to set up a thermal scope, adjust focus and image settings, choose the right palette, and read thermal images more confidently in real hunting situations.
Innholdsfortegnelse
How Do You Set Up a Thermal Scope for the First Time?
When setting up a termisk riflesikte, start by installing the optic securely, adjusting the diopter, learning the basic menu controls, and confirming your zero.
A proper setup ensures the optic delivers a clear image and accurate shot placement before you head into the field.
Mount the Scope Securely
Attach the scope firmly to the rifle rail and tighten the mount according to the manufacturer’s torque specifications. A loose mount can shift under recoil and change the point of impact. Once mounted, shoulder the rifle and make sure the eye relief and viewing position feel comfortable.
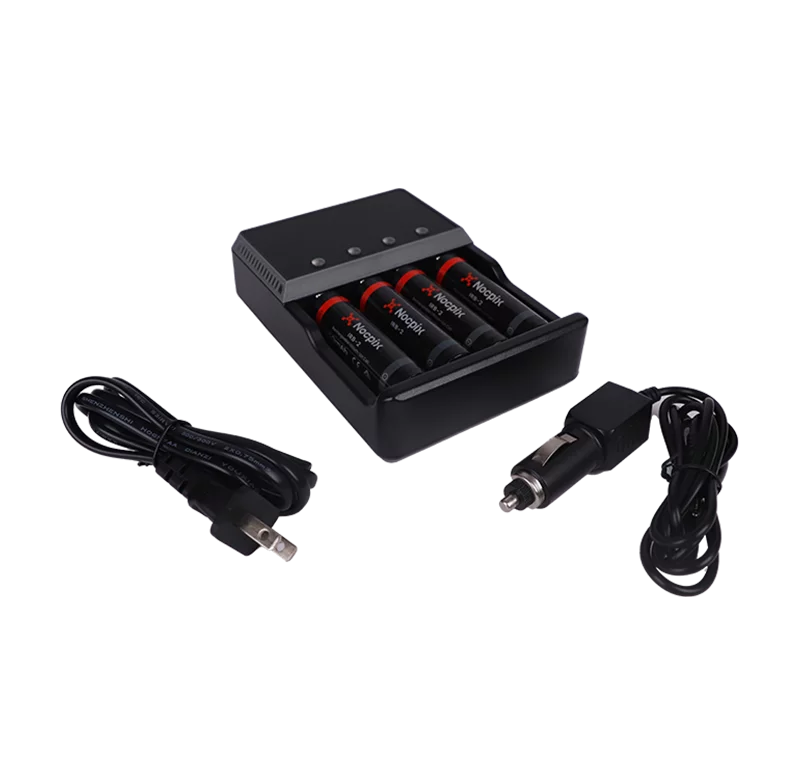
Power Up and Check the Battery
Turn the scope on and confirm the battery level before adjusting any settings. Thermal scopes consume more power than standard optics, so starting with a fully charged battery helps prevent interruptions during setup or hunting sessions.
Adjust the Diopter First
Set the diopter before adjusting anything else. The diopter controls how the reticle appears to your eye. Look at a plain background and turn the diopter ring until the reticle appears sharp and clear. Once it is set correctly, you usually will not need to change it again.
Learn the Menu Basics
Spend a few minutes exploring the scope’s menu system. Locate key functions such as brightness, contrast, palette selection, zoom, and calibration. Understanding these controls early will make field adjustments much easier later.
Confirm Your Zero
Finally, confirm that the rifle is properly zeroed. Even if the scope was previously sighted in, it is always a good idea to check the zero after mounting or transporting the rifle. If you are unsure about the process, follow this guide on how to sight in a thermal scope for detailed instructions.
How Do You Focus a Thermal Scope Properly?
Proper focusing involves two steps: adjusting the diopter for your eyesight and setting the objective focus for the target distance. When both are correct, the thermal image appears sharper and easier to interpret.
Set The Diopter For Your Eye
Start by adjusting the diopter until the reticle looks crisp. This step ensures the display matches your eyesight. If the diopter is off, the image may appear blurry even when the target focus is correct.
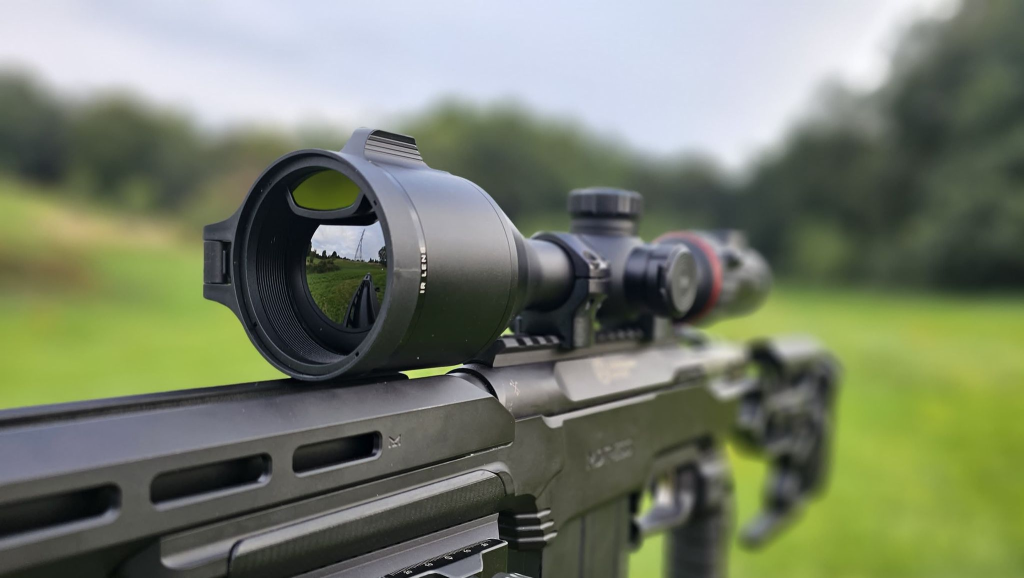
Use The Focus Ring For The Target Distance
Next, use the focus ring or objective focus control to sharpen the target image. Turn the ring slowly until the heat signature and surrounding shapes appear well defined.
Re-Focus As Distance Changes
Thermal focus is not fixed. If the target moves closer or farther away, adjust the focus ring again. Refocusing helps maintain image detail as conditions change. Many beginners assume the image is blurry because of zoom, but in many cases the issue is simply incorrect focus.
Common Focusing Mistakes
Several common mistakes make thermal images harder to read:
- Adjusting zoom instead of focus
- Setting the diopter incorrectly
- Trying to interpret a blurry image
- Ignoring focus adjustments when observing targets at different distances
Taking a moment to refocus often improves image clarity immediately.
How Do You Adjust Thermal Scope Image Settings?
Adjusting brightness, contrast, and palette settings helps separate the target from the background. Small changes to these controls can dramatically improve how clearly you see heat signatures.

Thermal image settings usually include the following controls:
- Brightness: Lower brightness slightly if the image looks washed out. Increase it if the screen appears too dark.
- Contrast: Increase contrast to separate the target from the background. This often makes animals stand out more clearly.
- Start With a Simple Palette: Many users begin with white hot or black hot because these palettes are easy to read.
- Adjust for Conditions: Weather, terrain, and temperature can affect image clarity, so it helps to adjust settings as conditions change. For example, a palette that works well in open fields may look very different in wooded areas or on warm nights.
These small adjustments help your eyes recognize heat signatures faster.
Which Thermal Palette Should You Use in Different Conditions?
Thermal palettes change how heat differences appear on the screen. The best palette is usually the one that lets you recognize shapes and movement quickly.
White Hot For Simple, Fast Detection
White hot displays warmer objects as white and cooler areas as dark shades. Many users prefer this palette for general scanning because it provides a simple and natural-looking image.
Black Hot For Strong Contrast
Black hot reverses the color pattern, showing warm targets as black. Some users find this palette provides stronger contrast when detecting animals against warmer backgrounds.
Color Palettes For Specific Preferences
Some scopes include color palettes such as red hot or rainbow modes. These options can highlight small temperature differences but may also make the image harder to interpret quickly.
Stick With What You Can Read Fast
The best palette is the one your eyes understand immediately. Many experienced users choose one palette and stick with it so their brain learns to recognize heat signatures faster.
Thermal Palette Quick Reference
| Thermal Palette | How It Displays Heat | Beste brukstilfelle |
| Hvit varm | Warmer objects appear white, cooler areas appear dark | General scanning and fast detection |
| Svart het | Warmer objects appear black against lighter backgrounds | Strong contrast in cluttered environments |
| Rødglødende | Warmer areas appear in red tones | Highlighting animals or heat sources |
| Rainbow/Color Modes | Multiple colors represent temperature differences | Analyzing subtle heat variations |
Many experienced hunters prefer white hot or black hot because these palettes provide the simplest and fastest visual interpretation during scanning.
When Should You Use Zoom on a Thermal Scope?
Use base magnification for scanning and apply zoom only when you need a closer look. This approach keeps the image clear while still allowing detailed inspection of potential targets.
Use Base Magnification For Scanning
Base magnification provides the widest field of view and the clearest image. This makes it easier to detect movement and scan large areas quickly. Starting with base magnification also helps your eyes recognize heat signatures more naturally.
Use Zoom Only After Detecting a Heat Source
Once you notice a heat signature, apply zoom to inspect the target more closely. A small increase in zoom can help confirm the shape, movement, or behavior of the heat source before making a decision.
Avoid Excessive Digital Zoom
Heavy digital zoom reduces image clarity and narrows your field of view. Many beginners zoom in immediately after detecting heat, but scanning with base magnification usually provides a much clearer picture.
What Does Calibration (FFC) Do on a Thermal Scope?
Calibration, often called FFC (Flat Field Correction), resets the thermal sensor so it can measure temperature differences accurately again. Over time, sensor temperature and environmental conditions can cause the image to drift, making the picture appear noisy or uneven.
During calibration, the image may briefly freeze or the scope may produce a short shutter sound while the sensor resets.
When You Should Run Calibration
Run calibration whenever the image begins to look grainy, blurry, or uneven. Many modern thermal scopes also perform automatic calibration at regular intervals to maintain consistent image quality.
How Do You Read a Thermal Image Without Making Mistakes?
Reading a thermal image requires patience and careful observation. Heat signatures show temperature differences, not detailed visual features.
Detection Is Not The Same As Identification
Detection simply means you see a heat source. Identification means you know exactly what the target is. Always take time to confirm the target before acting.
Look At Shape, Movement, And Context
Animals often reveal themselves through body shape, movement patterns, and how they interact with the environment. These clues help you interpret thermal images correctly.
Use Thermal For Heat, Not Assumptions
Thermal scopes highlight temperature differences, but they cannot show fine details like fur color or facial features. Avoid assuming what the target is based only on heat.
Slow Down Before Final Confirmation
Pause and observe the target for a few seconds before making a decision. Often, small movements or posture changes reveal what the heat signature actually represents.
How Do You Use a Thermal Scope in Different Real-World Situations?
Thermal scopes work in many environments, but each situation requires slightly different adjustments.
In Daylight
Thermal scopes still work during the day because they detect heat rather than light. However, heat differences between objects may appear smaller, so adjusting contrast can help.
At Night
Night conditions usually produce stronger temperature differences. Animals often stand out clearly against cooler backgrounds, which makes detection easier.
In Open Fields
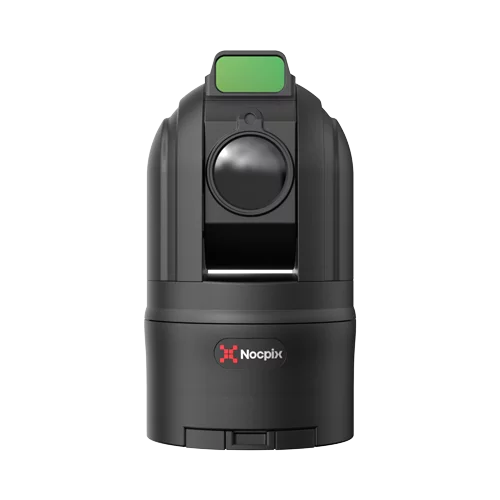
In open areas, use lower magnification to scan large sections quickly. Many hunters also use termisk avbildningsmonokulære to scan wide areas before switching to the rifle.
In Woods Or Brush
Trees and vegetation can block or partially hide heat signatures. Move slowly and watch for small gaps where heat sources appear.
In Fog Or Wet Conditions
Thermal optics often perform better than traditional night vision in fog or light rain, though heavy moisture can still reduce image clarity.
What Are the Most Common Beginner Mistakes With a Thermal Scope?
Many beginners struggle with thermal scopes simply because the technology works differently from standard optics.
Common beginner mistakes include:
- Skipping the diopter setup: A poorly adjusted diopter makes the image appear blurry.
- Forgetting to refocus at new distances: Target clarity changes as distance changes.
- Using too much zoom too soon: High zoom reduces image detail and field of view.
- Ignoring calibration: Sensor drift can reduce image quality over time.
- Treating detection like identification: Seeing heat does not automatically mean you know the target.
- Entering the field without checking zero: Even small changes in mounting can affect accuracy.
Avoiding these mistakes will help you learn thermal optics much faster. Most new users improve quickly once they understand that thermal optics show heat differences rather than detailed visual images.
Konklusjon
Using a thermal scope becomes much easier once you understand the basics: set up the optic correctly, focus the image, adjust settings for clarity, and take time to read heat signatures carefully. With practice, these steps become second nature and help you detect and identify targets more confidently in the field.
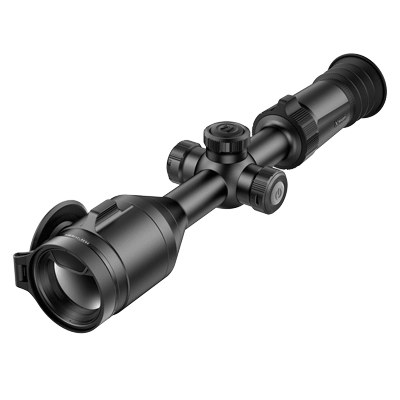
If you want reliable performance and user-friendly controls, modern optics like Nocpix termiske skop provide clear imaging, intuitive menus, and stable calibration designed for real hunting conditions.
Vanlige spørsmål
How long does it take to learn how to use a thermal scope well?
Most beginners can understand the basic controls within a few hours of practice. However, learning to interpret thermal images accurately often takes more field experience.
Can beginners use a thermal scope without prior experience?
Yes. Most modern thermal scopes are designed with simple menus and automatic calibration features, which makes them accessible even for first-time users.
Do Thermal Scopes Work Better at Night Than Digital Night Vision?
Thermal scopes usually detect heat signatures more easily at night because temperature differences between animals and the environment are stronger.
What is the difference between spotting heat and identifying a target?
Spotting heat means detecting a temperature difference on the screen. Identifying a target requires confirming the shape, movement, and context of that heat signature.
How often should you calibrate a thermal scope during use?
Most thermal scopes calibrate automatically at regular intervals. You can also run manual calibration whenever the image begins to look uneven or noisy.
What Range Can You See With a Thermal Scope?
The detection range of a thermal scope depends on the sensor resolution, lens size, and environmental conditions. Many modern thermal scopes can detect large heat sources several hundred yards away, while identification distance is usually shorter. Weather, terrain, and target size can also affect how clearly the heat signature appears.